
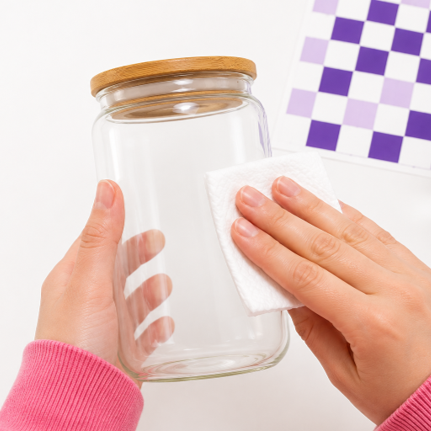
Make sure the surface is clean, smooth, and dry. Remove any dust, oil, or fingerprints.
You can use rubbing alcohol on glass or metal. Let the surface dry before applying the sticker.
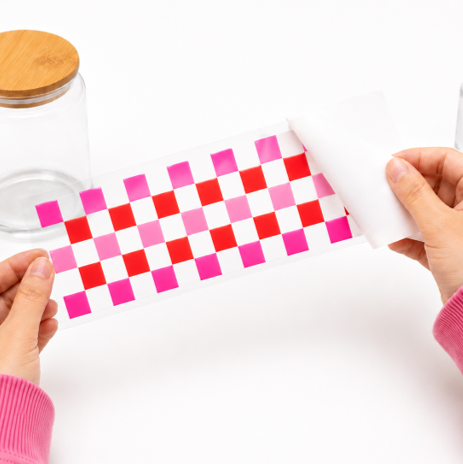
Slowly peel off the white backing paper.
The design will stay on the clear film. Try not to touch the sticky side.
Check the position before placing the sticker down.
Once it touches the surface, it may be hard to move. Place it slowly and carefully.
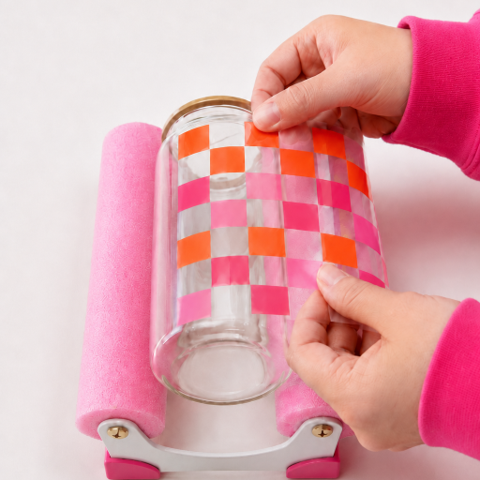
Use a squeegee, card, or your fingers to press the sticker firmly.
Start from the center and move outward. Make sure all edges and small details are pressed down.
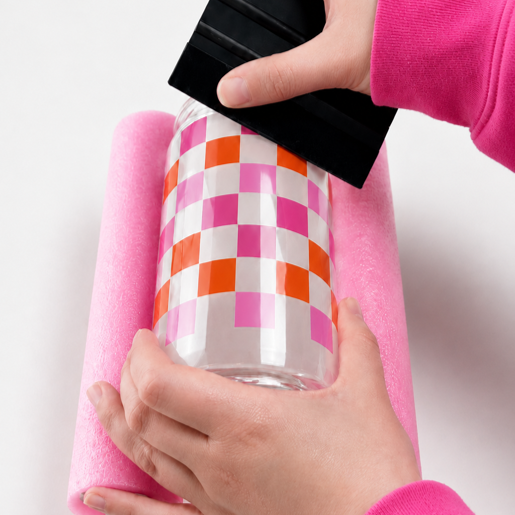
Slowly peel off the clear film from one corner at a low angle.
If the design starts to lift, press it down again and continue peeling slowly.
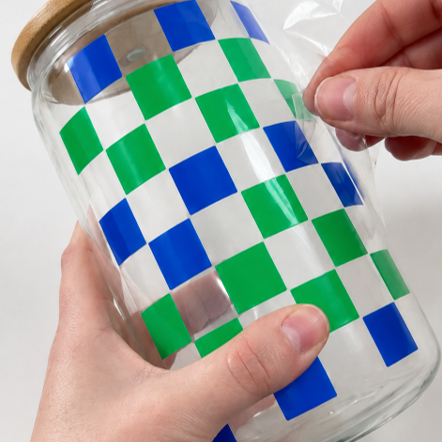
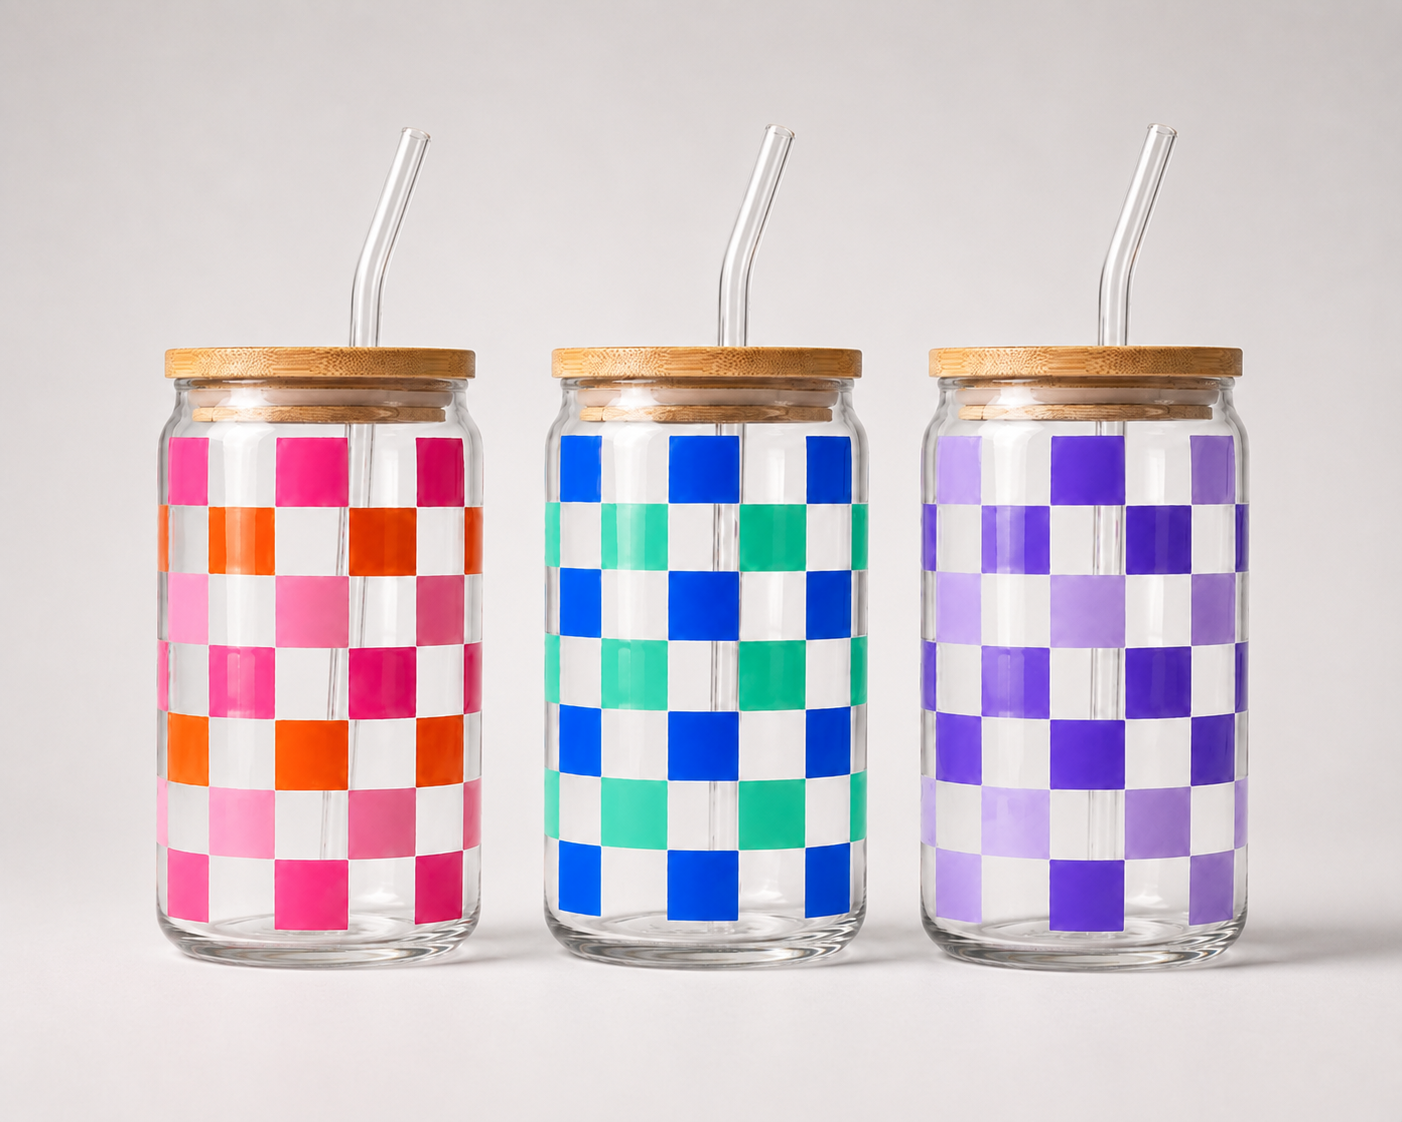
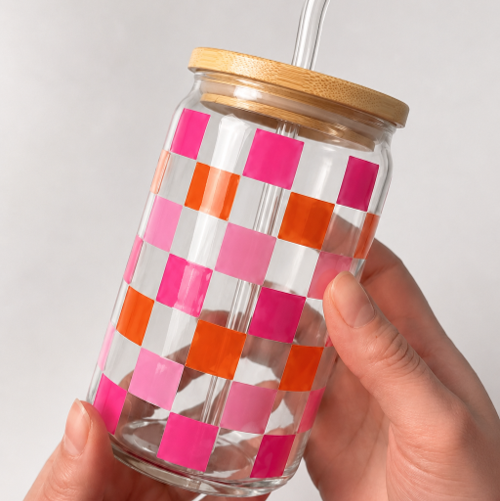
Your cold transfer sticker is complete! Gently press over the entire design and all edges one more time to make sure everything is firmly attached.
{{ description }}