
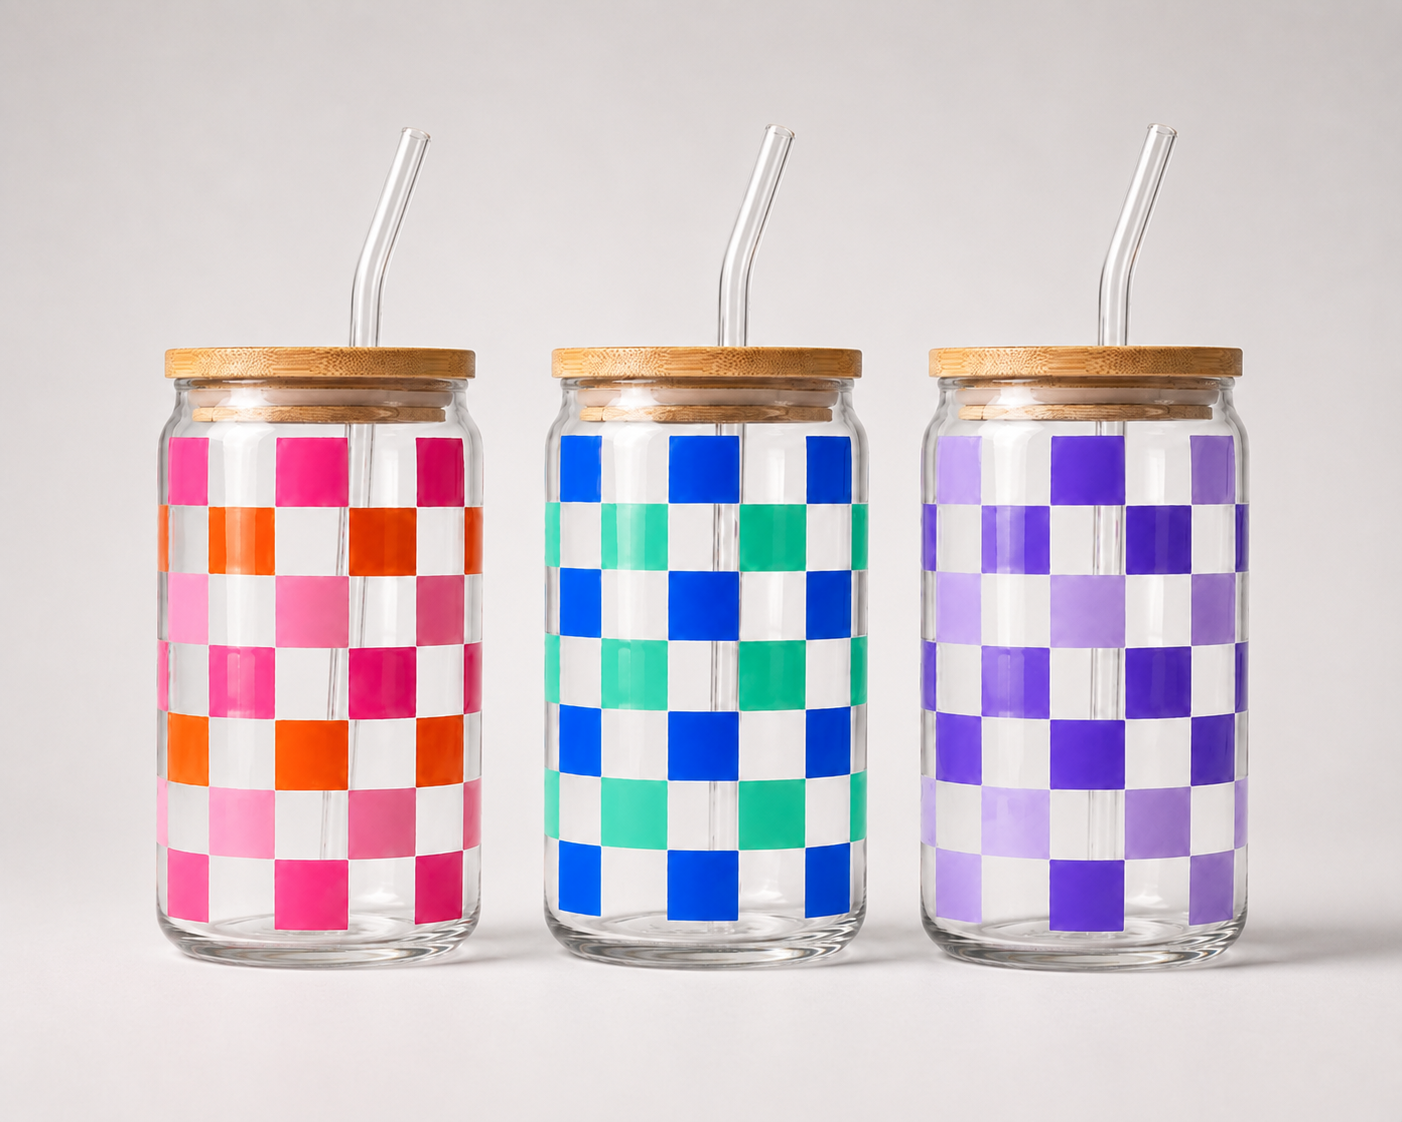
Want to give your favorite items a fresh, personalized look? Cold transfer stickers are a simple and creative way to decorate everyday objects without using heat or special equipment.
Whether you're customizing a glass jar, decorating a notebook cover, or adding a unique touch to a DIY craft project, knowing how to apply cold transfer stickers correctly can help you achieve a clean and beautiful finish.
Follow our five easy steps to transfer your design smoothly and confidently!
Before applying your cold transfer stickers, prepare a few basic supplies:
For best results, choose a surface that is free from dust, moisture, oil, and fingerprints. If you're working with an unfamiliar material, test a small area first to ensure the surface is suitable.
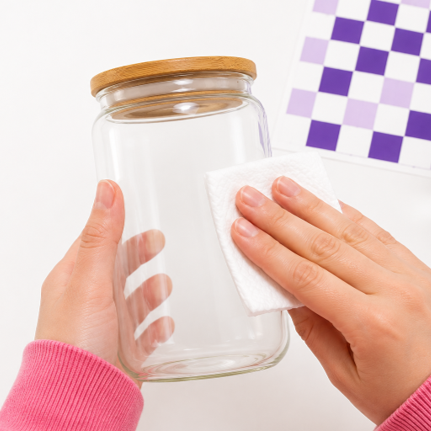
✨Step 1: Clean the Surface
Make sure the surface is clean, smooth, and dry. Remove any dust, oil, or fingerprints.
You can use rubbing alcohol on glass or metal. Let the surface dry before applying the sticker.
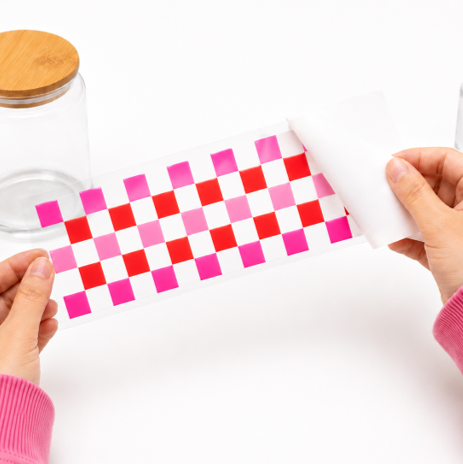
✨Step 2: Remove the Backing Paper
Slowly peel off the white backing paper.
The design will stay on the clear film. Try not to touch the sticky side.
✨Step 3: Place the Sticker
Check the position before placing the sticker down.
Once it touches the surface, it may be hard to move. Place it slowly and carefully.
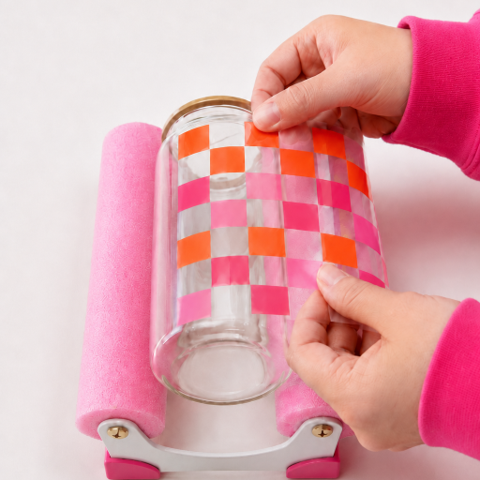
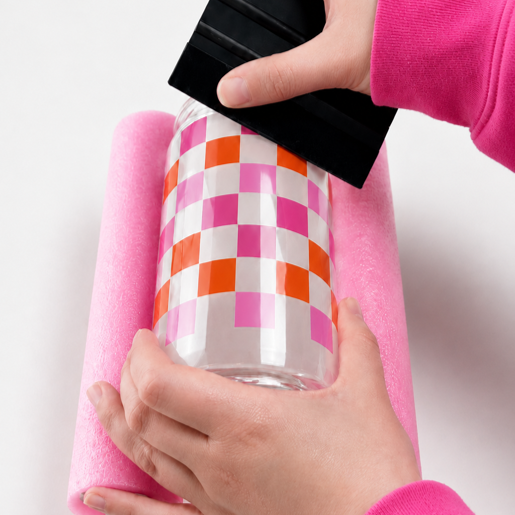
✨Step 4: Press It Down
Use a squeegee, card, or your fingers to press the sticker firmly.
Start from the center and move outward. Make sure all edges and small details are pressed down.
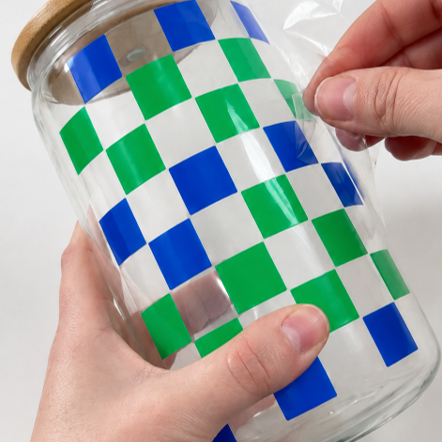
✨Step 5: Peel Off the Clear Film
Slowly peel off the clear film from one corner at a low angle.
If the design starts to lift, press it down again and continue peeling slowly.
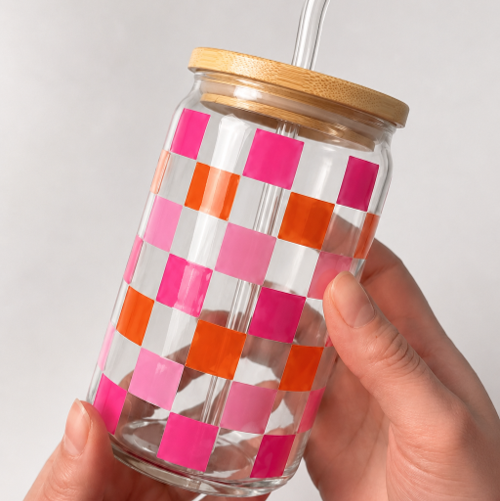
Finished: Ta-da! ✨
Your cold transfer sticker is complete! Gently press over the entire design and all edges one more time to make sure everything is firmly attached.
Now that you know how to apply cold transfer stickers, it's time to bring your creative ideas to life!
From personalized gifts to creative DIY decorations, these easy-to-use designs make it fun to add a special touch to everyday items.
Explore more creative inspiration with Joyful Lands Craft, and enjoy making something uniquely yours! ✨
{{ description }}